Playground
The library also ships with a playground application which serves the following two purposes:
-
It is essentially an extended version of the tutorial and therefore can be used to validate the aforementioned behaviour.
-
Provides a minimalistic application setup where users can tweak different settings of the library and subsequently verify whether the app behaves as expected under these different settings.
Setup
The playground app comes in a completely dockerised setup. In order to launch it, it's mandatory to
have Docker and
docker-compose installed and available as part of
the system PATH.
Once done, clone the repository as follows:
$ git clone https://gitlab.innovaccer.com/tenant-release-management/django-tenant-router.git
Before launching the playground, in order to verify its multi-tenant behaviour, a couple of host
entries namely tenant-1.test.com and tenant-2.test.com must be added to the namespace
resolver of your machine. Thus when the browser points to one of these hosts, the playground
app's backend would be able to route requests to the appropriate database.
For Linux and MacOS users, please add the following entries to the /etc/hosts file as follows:
##
# Host Database
#
# localhost is used to configure the loopback interface
# when the system is booting.  Do not change this entry.
##
...
127.0.0.1 tenant-1.test.com
127.0.0.1 tenant-2.test.com
...
# End of section
Info
You might need to ensure that the current user has sudo privileges in order to edit the
/etc/hosts file.
Launch
To launch the playground, enter the following commands:
$ cd ~/django-tenant-router/playground
$ docker-compose build
$ docker-compose up -d
The following are a bunch of things you can try to get yourself familiarised with the working of the app.
-
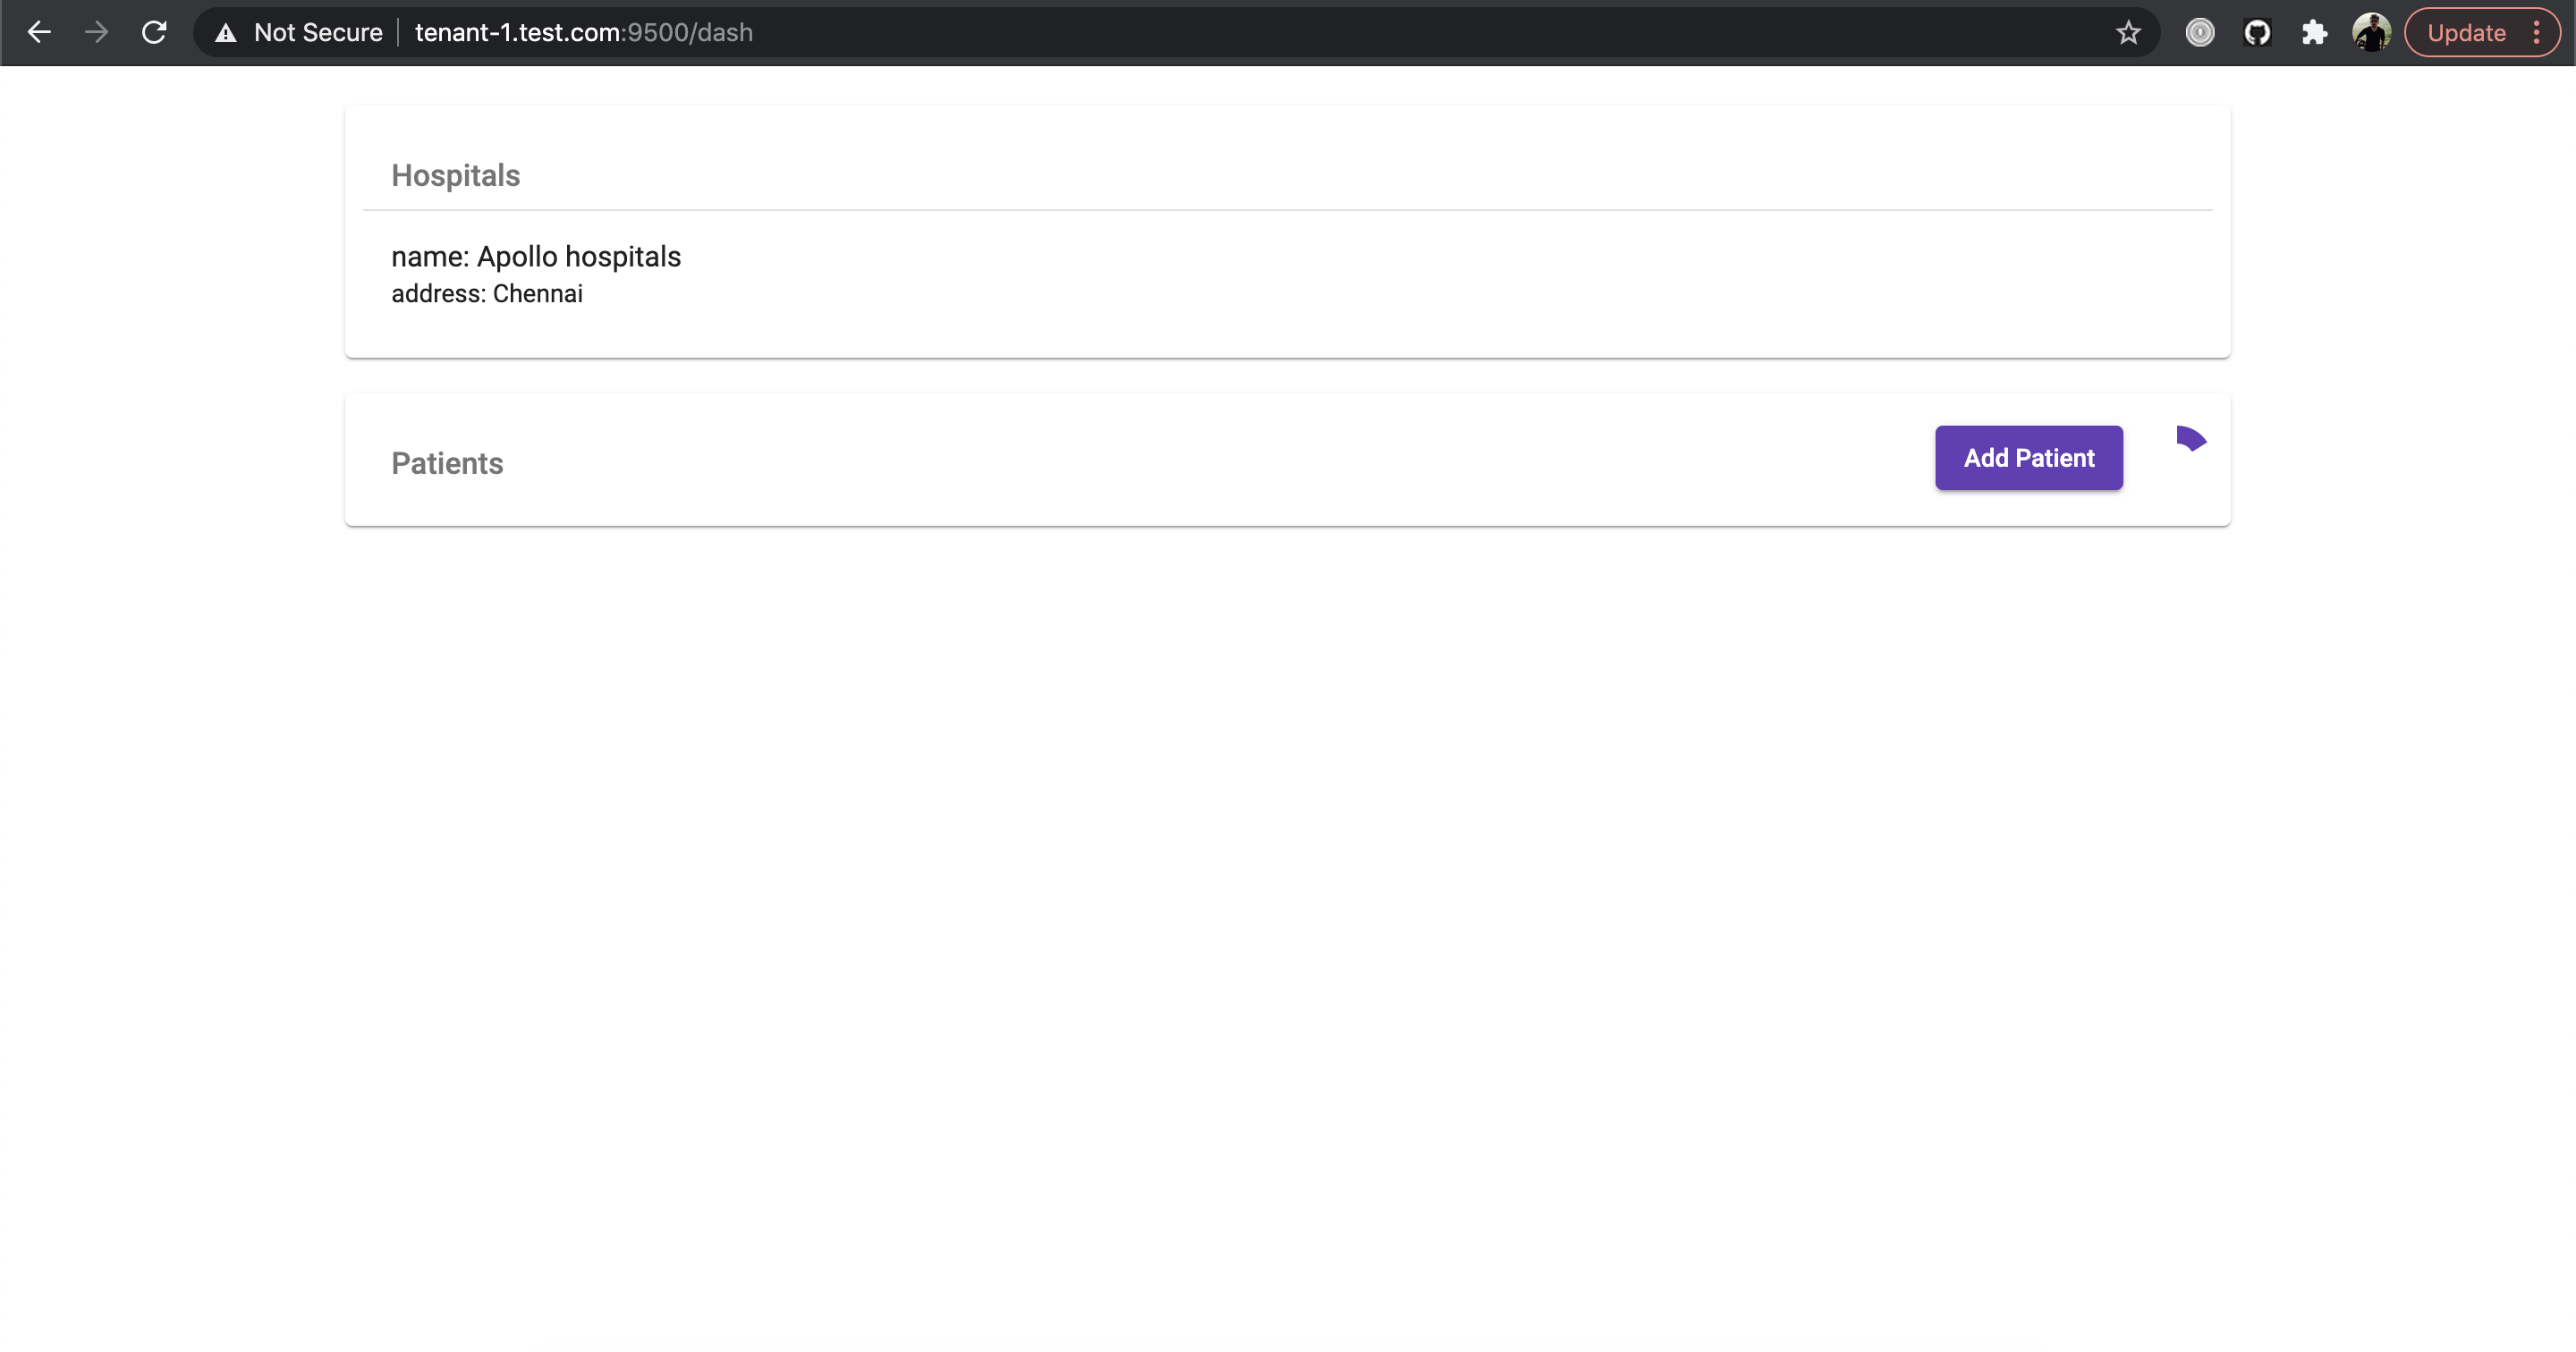
Open your browser and point it to
tenant-1.test.com:9500. You should see the following image:
-
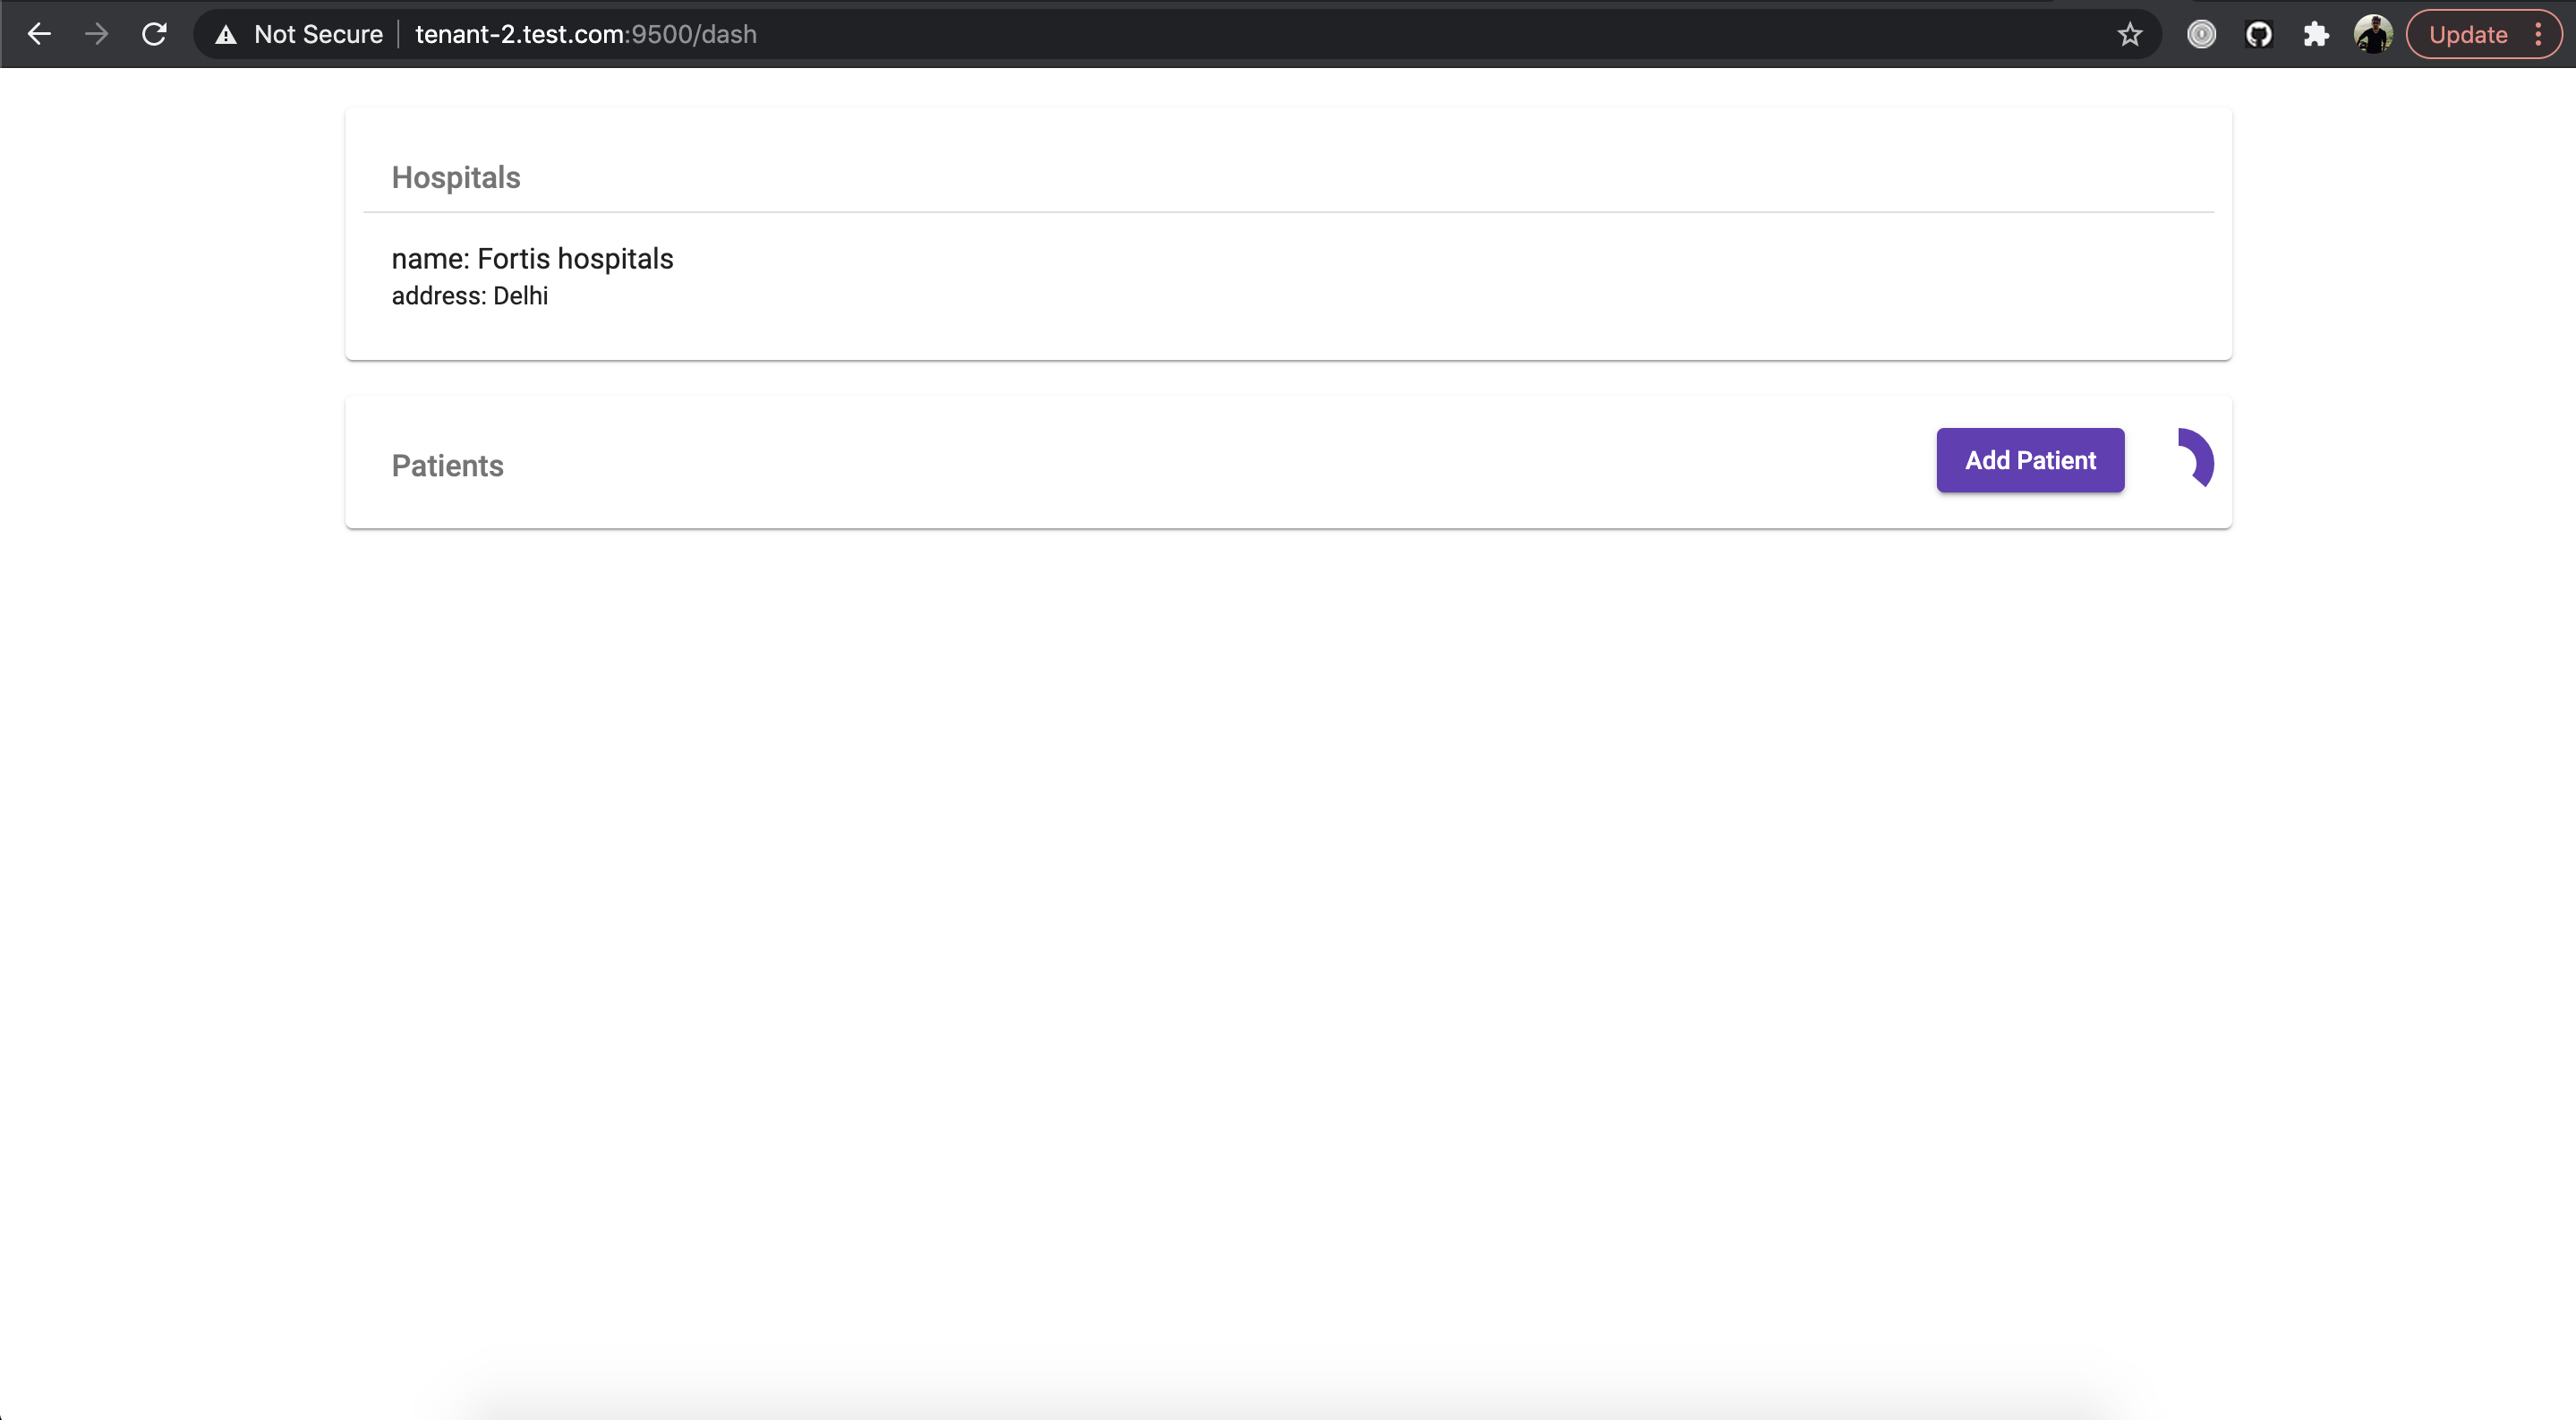
Now, point the browser to
tenant-2.test.com:9500. You should see the following image.
You can see that, in the above image, the data for the Hospitals tab is different compared to the data that was displayed for
tenant-1.test.com. This confirms that requests are being routed to different databases based on the domain name. -
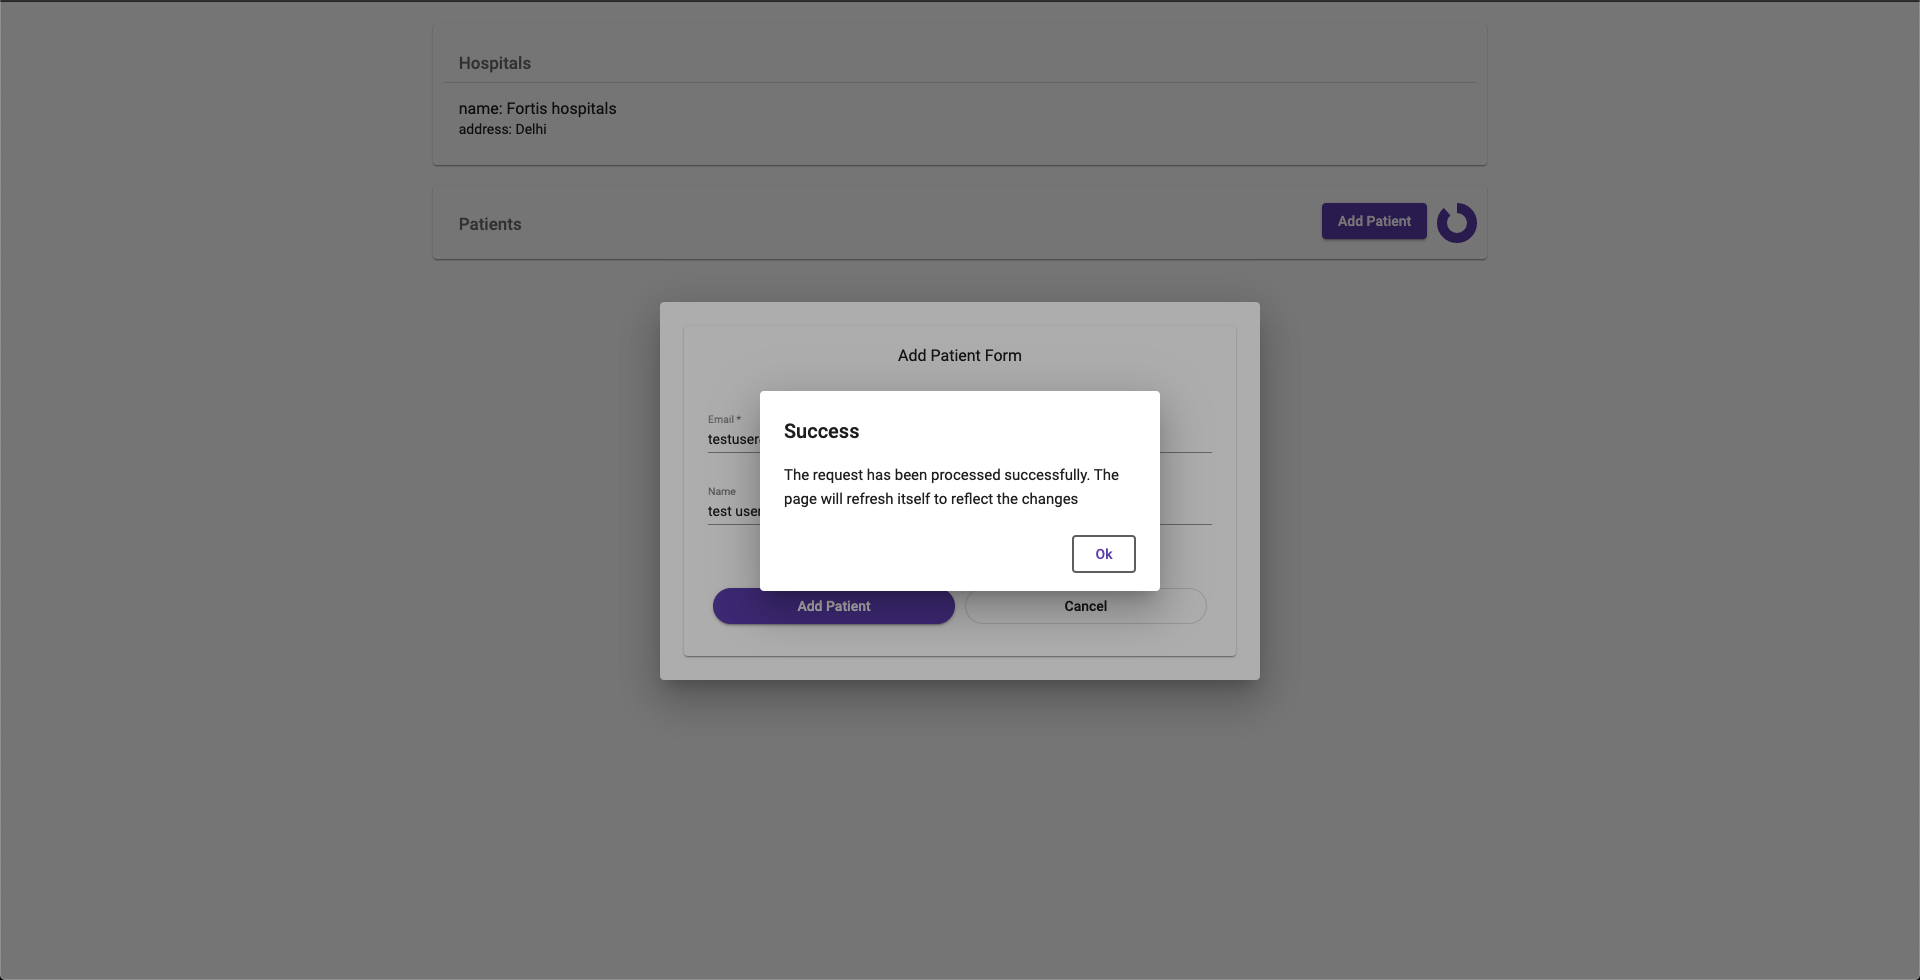
As you can see, in both the above screens, the Patients tab is empty. Let's try adding one. Click on the Add Patient button and fill up the form with the required details and submit it. You should see the following screen once submitted:

By now, you would have noticed the small spinner near the Add Patient button. Every time the spinner completes one full rotation, the Patients tab is refreshed.
The reason for doing this is that the Add Patient HTTP endpoint does not immediately add the new patient to the database but rather delegates this responsibility to a celery task. Hence, the UI would be able to reflect the latest changes only after the celery task completes its execution.
The aim of the above implementation is to illustrate that every celery task that the app has, when invoked, is bound to a specific tenant's context without any code changes.
Verify the above statement
Point your browser to
tenant-1.test.com:9500. You would find that the Patients tab is still empty.To know more about how the tenant context binding works with respect to celery tasks,
click here.
The functionalities mentioned above are the ones that the playground app offers out-of-the-box. Beyond this, you're free to try out various ideas/concepts mentioned in other parts of this documentation to get a better understanding of how they work in practice.